Table of Contents
How to Build a Shed Foundation
You finally picked out a shed. You know the size, the style, maybe even the paint color. Then you stand in your backyard and realize you have no idea what to put underneath it.
That gap trips up a lot of first-time builders. Learning how to build a shed foundation is not complicated, but skipping it or rushing it is the single most common reason sheds end up crooked, rotten, or sinking within a couple of years. Water pools under the floor. The frame twists. Doors stop closing right.
This guide walks through the foundation types that actually work, how to build the most common one yourself, and the mistakes that cause the most damage. By the end you should be able to pick a foundation that fits your shed instead of over-building or under-building it.
Why the Foundation Decides How Long Your Shed Lasts
A lot of people assume a flat patch of grass or dirt is good enough. It looks level. It seems solid. The problem shows up later, after rain season or the first hard freeze.
Ground that holds water swells and shrinks as it gets wet and dries out. In cold climates, water in the soil freezes and expands, a process called frost heave. Both push and pull on whatever sits on top, unevenly. A shed floor resting directly on soil has no way to resist that movement.
Over a year or two, the frame racks out of square. Wood touching wet dirt starts to soften and rot. Doors bind or won’t latch anymore. None of this happens overnight, which is exactly why it catches people off guard.
The good news is you don’t need a contractor-grade slab for a garden shed. The goal is matching the foundation to your shed’s size, weight, and climate, not building the biggest, most expensive base you can. A well-planned gravel pad often does the job for a fraction of the cost of concrete.
Shed Foundation Types: Which One Fits Your Build
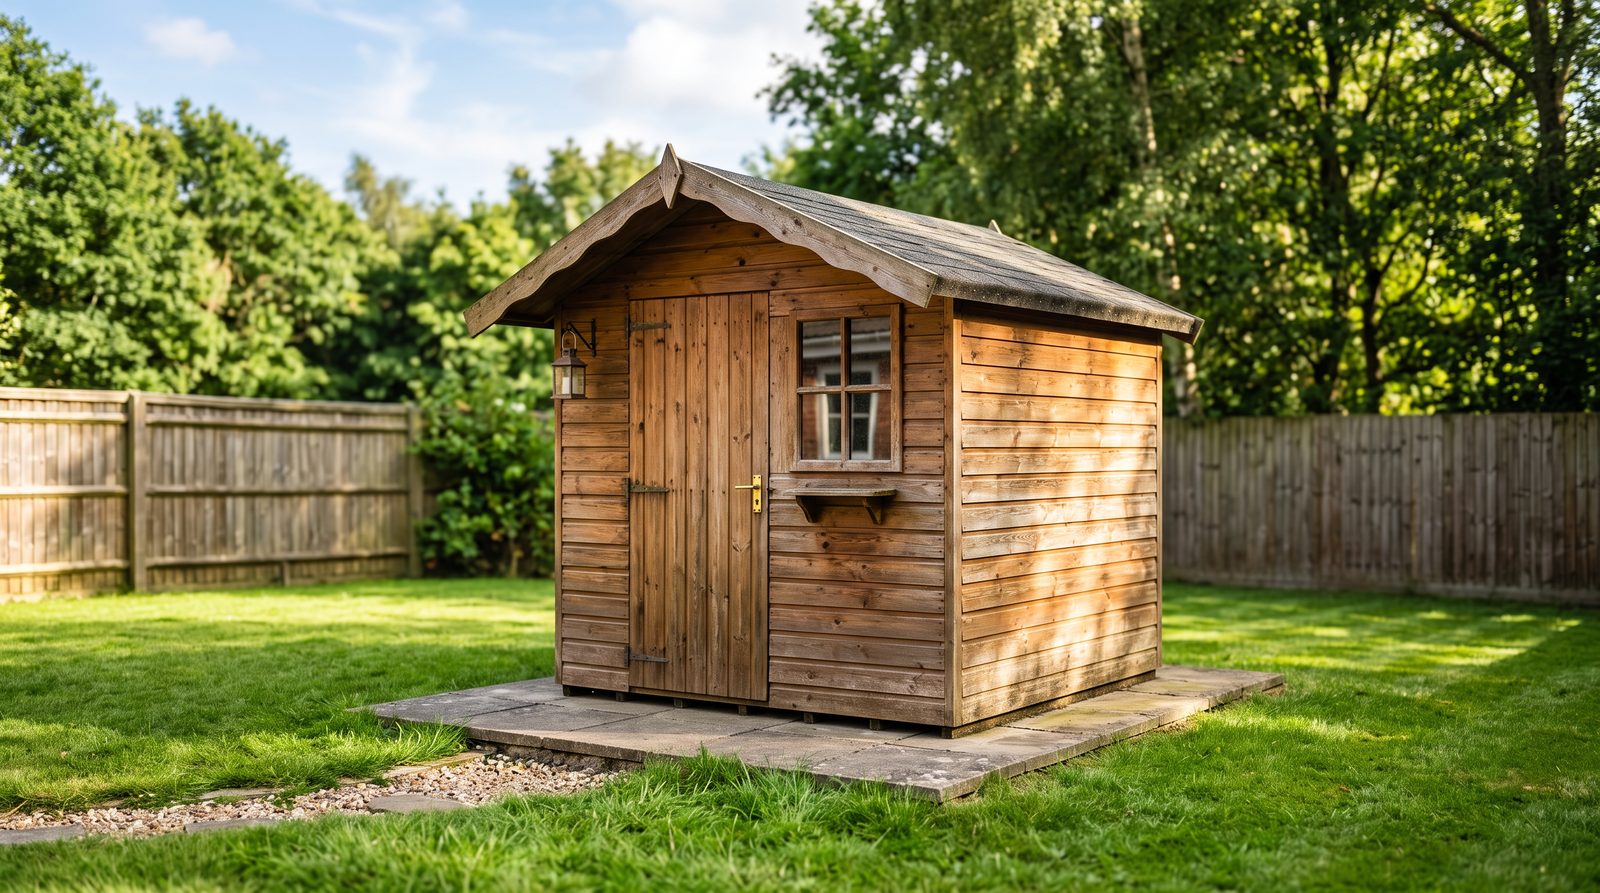
There is no single right answer here. The best choice depends on shed size, ground slope, soil drainage, and your budget. Here are the six most common options, based on guidance from This Old House and SitePrep.
Gravel Pad
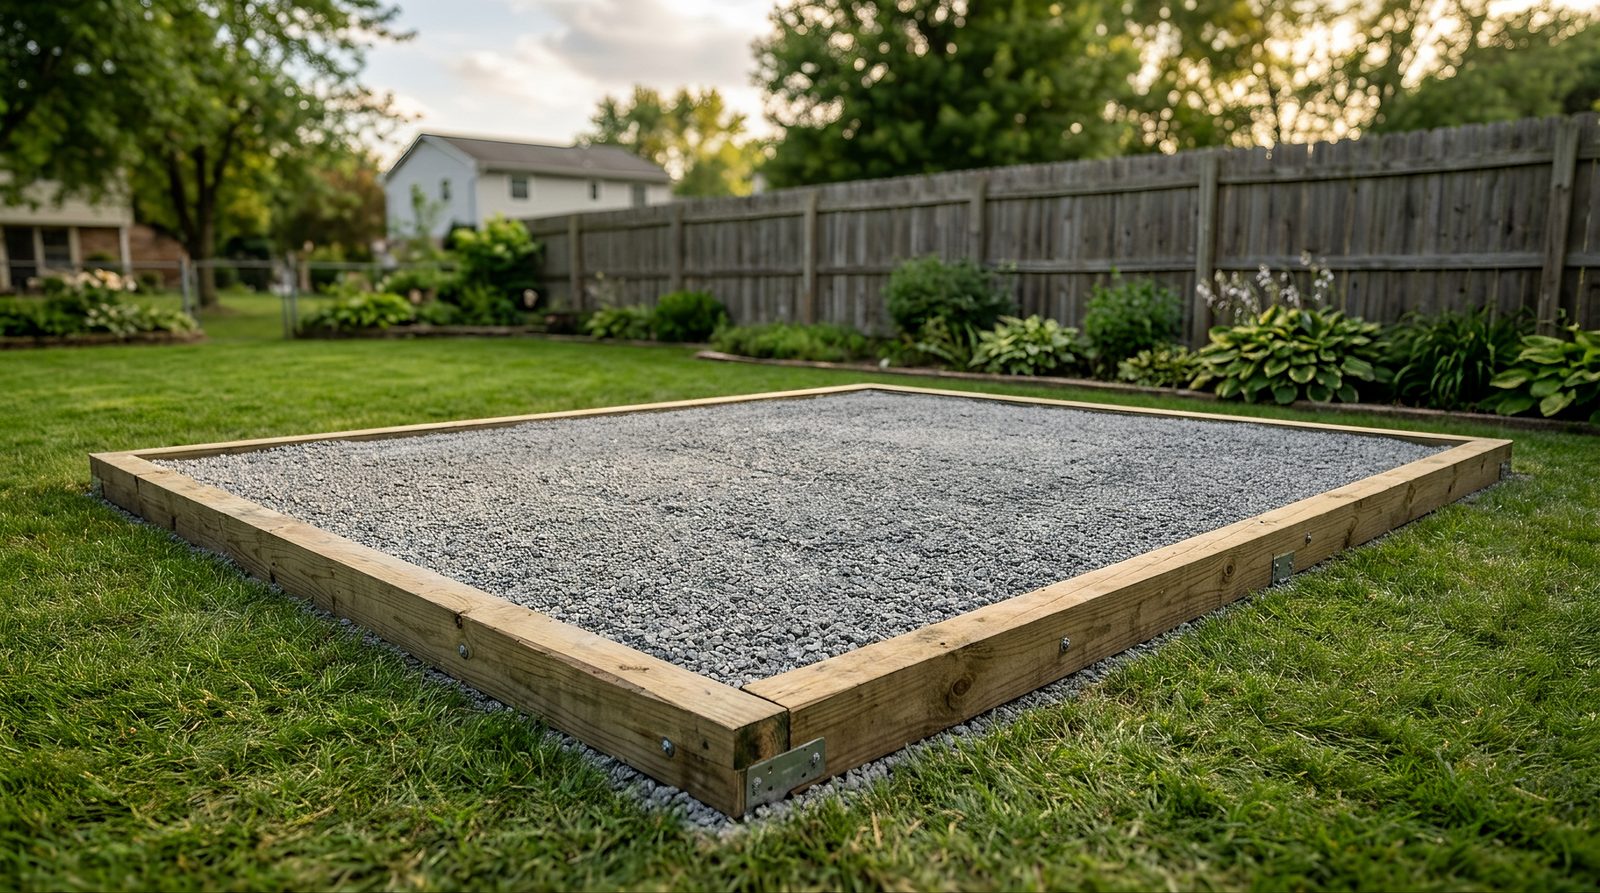
A layer of compacted crushed stone, usually 4 to 6 inches deep, contained inside a wood or plastic frame. This is the most common DIY choice for small and mid-size sheds. It drains well, resists frost movement better than a solid slab, and typically costs somewhere in the $200 to $600 range for a standard 10×12 pad, depending on materials and delivery.
Concrete Slab
A poured concrete pad, usually 4 inches thick with rebar or wire mesh reinforcement. This is the strongest and most permanent option, ideal for larger sheds, heavy equipment, or a shed that will double as a workshop. It costs more, requires forming and pouring, and needs about a week of set time before you build on it.
Deck Blocks and Pier Blocks
Precast concrete blocks placed at intervals under the shed’s skids or floor joists. According to SitePrep, this works well for small, lightweight sheds on relatively flat, well-drained ground. It’s fast and inexpensive but offers less resistance to shifting than a continuous pad.
Skid Foundation
Pressure-treated timbers laid directly on gravel or blocks, with the shed floor built on top of the skids. Common for sheds that might need to be moved later, since skids can be dragged or lifted with equipment.
Concrete Piers Below Frost Line
Concrete-filled holes dug below the local frost depth, topped with a post or block. This is the most robust option for cold climates and heavier structures, because it anchors below the zone where the ground freezes and moves.
Plastic Grid Base
Interlocking plastic panels filled with gravel or sand. Lightweight and easy to install, but it carries less weight than gravel or concrete and is not a good fit for sloped ground.
Before You Dig: Site, Drainage, and Utility Lines
Before you break ground, walk the yard and look for where water naturally collects after rain. Avoid low spots, even if they look convenient otherwise. A shed built in a drainage path will fight standing water for as long as it stands.
Clear the area of grass, roots, and rocks down to bare soil. Roots left in place can decompose over time and create soft spots under your foundation.
Call 811 before you dig, no matter how shallow you plan to go. It’s a free service that marks buried gas, water, and electrical lines so you don’t hit one by accident.
Plan your foundation footprint 1 to 3 feet larger than the shed itself on each side. That extra margin gives you room for roof overhang and keeps runoff from washing straight into the foundation edge, a detail confirmed by This Old House.
Step by Step: Building a Gravel Pad Foundation
A gravel pad is the most popular DIY option because it balances cost, drainage, and effort. Here’s how it comes together.
Mark Out and Square the Pad
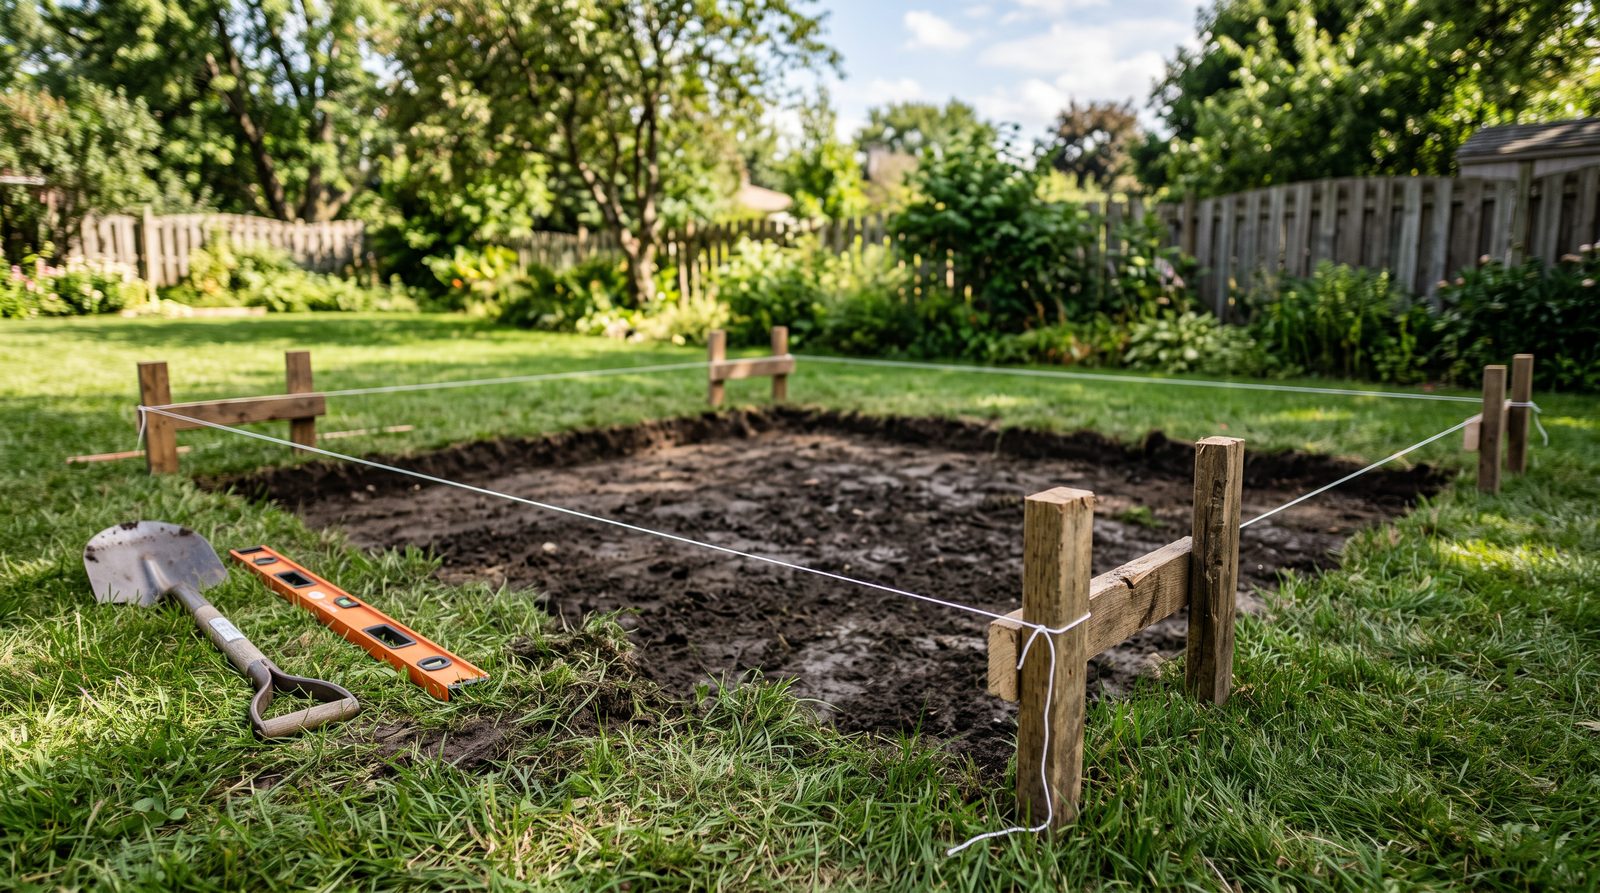
Drive a stake at each corner of your planned footprint, then run string between them. Check that the corners are square using the 3-4-5 method: measure 3 feet along one side and 4 feet along the adjoining side, then adjust the corner until the diagonal between those two points measures exactly 5 feet, a technique detailed by Concord Carpenter. A square base now saves you headaches when the shed frame goes on top later.
Excavate and Set the Perimeter Frame
Dig out the marked area to a depth of about 4 to 6 inches. Build a simple perimeter frame from pressure-treated lumber to hold the gravel in place, staking it at the corners and along the sides.
Landscape Fabric and Crushed Stone
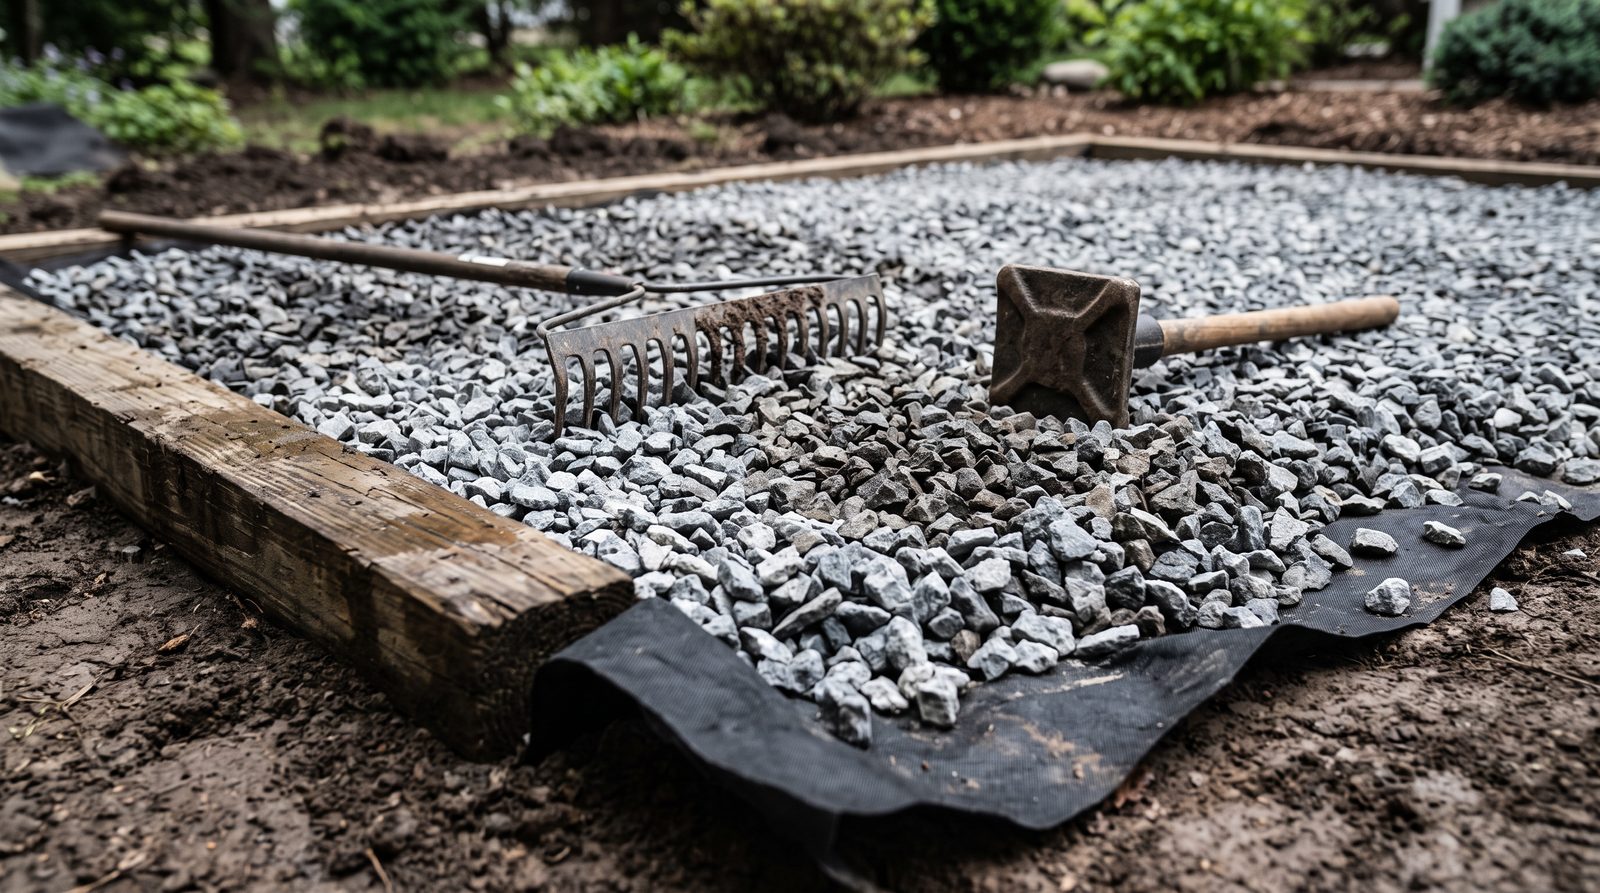
Lay landscape fabric across the excavated area before adding stone. This keeps weeds from pushing up through the pad later and helps separate the gravel layer from the soil below.
Fill with crushed, angular stone, often labeled 21A or 21B crusher run, rather than pea gravel. Angular stone locks together when compacted; pea gravel stays loose and shifts underfoot, which defeats the purpose of the pad. Add the stone in layers, compacting each one with a hand tamper or plate compactor before adding the next.
Final Level Check
Once the pad is filled and compacted, run a long level across it in several directions. Add or remove stone in low or high spots until the whole surface reads level. Small dips left uncorrected now become bigger problems once the shed frame is sitting on top.
Cold Climates: Frost Line and Frost Heave
If you live somewhere winters get seriously cold, frost depth changes the math. How deep frost reaches varies a lot by region. It is shallow in the warm South and much deeper in cold northern climates, and your local building department can give you the figure used for your area.
Whatever that depth turns out to be, a foundation that relies on piers should extend at least a foot below the local frost line, according to Fine Homebuilding. A pier that stops short of that depth can still heave and shift as the ground around it freezes and thaws each year, even if it looked solid the day you installed it.
If you’re not sure how deep frost goes where you live, your local building department can usually tell you, and it’s worth asking before you commit to a pier design.
Mistakes That Ruin Shed Foundations
A few recurring errors show up again and again in shed foundation problems.
Skipping drainage planning is the biggest one. Building on a low spot or ignoring where water flows after rain sets up problems that won’t show for months.
Undersizing the footprint is another. A pad that matches the shed’s exact dimensions leaves no margin for roof runoff or settling at the edges.
Using pea gravel instead of angular crushed stone means the base never really locks together, so it keeps shifting under weight.
Letting wood sit straight on soil is a quieter but serious mistake. SitePrep’s foundation guide puts it plainly: shed skids, or any fully wood base, should never be placed directly on the ground, and the bottom of the shed should always rest on a secondary base such as gravel or concrete. On top of that, any lumber sitting at or near grade should be pressure-treated and labeled for ground contact rather than standard above-ground treated stock, since the two are not the same product. Using the wrong grade can lead to rot within a few years.
Not checking level as you build, rather than only at the end, lets small errors compound. And ignoring frost line depth in cold climates leaves piers vulnerable to heaving.
Do You Need a Permit?
This is the question people ask last, and it should probably come earlier. Many jurisdictions exempt small accessory structures, often those under 200 square feet, from needing a full building permit, based on common IRC guidance summarized by PermitsGuide.
That exemption is not universal. Local limits vary widely, with some cities capping exempt sheds at 100, 120, or 144 square feet instead of 200. Many areas also require a minimum setback, often 5 to 10 feet, from property lines even for exempt structures.
Rules on this genuinely differ by jurisdiction. Check with your local building department before you dig, not after the foundation is in.
When a Pre-Made Shed Plan Saves You Trouble
Figuring out foundation dimensions, floor joist spacing, and how the frame ties into the base is a lot easier when you’re working from a real blueprint instead of guessing as you go. A pre-made plan usually specifies the footprint size, skid layout, and lumber sizing up front, which removes a lot of the trial and error covered in this guide.
If you’d rather start from a ready-made blueprint than work out dimensions yourself, we looked at one popular plan library in our honest review of My Shed Plans.
Frequently Asked Questions
What’s the cheapest shed foundation? A gravel pad is usually the least expensive option for a small to mid-size shed, generally landing somewhere in the $200 to $600 range depending on materials and how much excavation is needed.
Does a shed need a foundation at all? Very small, lightweight sheds can sometimes sit on compacted ground alone, but almost every shed benefits from some kind of base. A foundation keeps the floor off wet soil and gives you a level surface, which prevents most of the rot and racking problems covered above.
How thick should the gravel be? A compacted layer of 4 to 6 inches of crushed stone is the standard depth for a gravel pad foundation.
Can I put a shed directly on grass or dirt? It’s not a good idea. Grass and dirt hold moisture, shift with weather, and give wood no protection from ground contact. Even a basic gravel pad or set of deck blocks is a major improvement.
How level does it need to be? As level as you can reasonably get it, checked with a long level across multiple directions. Small dips left uncorrected in the foundation tend to show up as bigger gaps and stress points once the shed frame is built on top.
Leave a Reply